So you want to make your Smith & Wesson revolver’s trigger lighter and smoother?
A trigger job is key!
But you’re not sure if you can do it yourself or if you should pony up the $100 to your local gunsmith?
We cover three types of trigger jobs ranging from switching out two springs to full on polishing.
With the most intensive of the trigger jobs, I brought my S&W 686+ double-action trigger pull down from 12 lbs to 9 lbs and the single-action from 5 lb to 3 lb.
We’ll get started soon but first…some disclaimers that you might mess up your gun and make it unsafe. If in doubt please have a gunsmith do it.
1. Shoot it…a lot
The tried and true method to getting a “trigger job” is to let the pieces of metal inside your S&W revolver rub against each other.
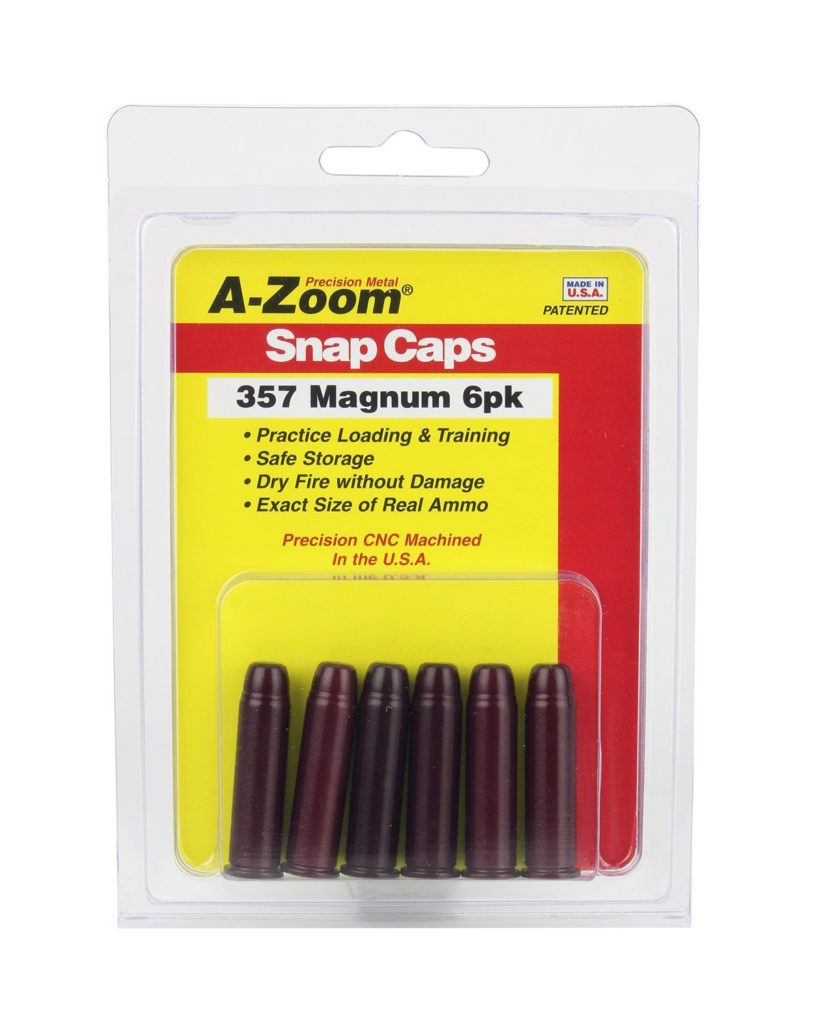
Dry-firing can up the round count but make sure to have some correct caliber snap caps. There’s some debate on whether or not dry-firing a revolver can damage stuff…but I always like to take the more cautious route since hammers are expensive!
I haven’t exactly counted how long it takes until there’s some difference, but it’s likely several thousand. Check out my review on the Best Place to Buy Ammo Online for some cheap gun food.
Now get shooting!
2. Lighter Springs
This can lower the trigger pull weight of your revolver with a little bit of elbow grease.
If you are carrying or using the revolver for self-defense, I would advice against going too light…or just skip altering the gun altogether.
What You’ll Need
- Revolver (duh)
- Reduced Weight Springs: K/L/N frames ($15) or for the small J frame ($8)
- Quality Screwdrivers: don’t want to mar up your frame
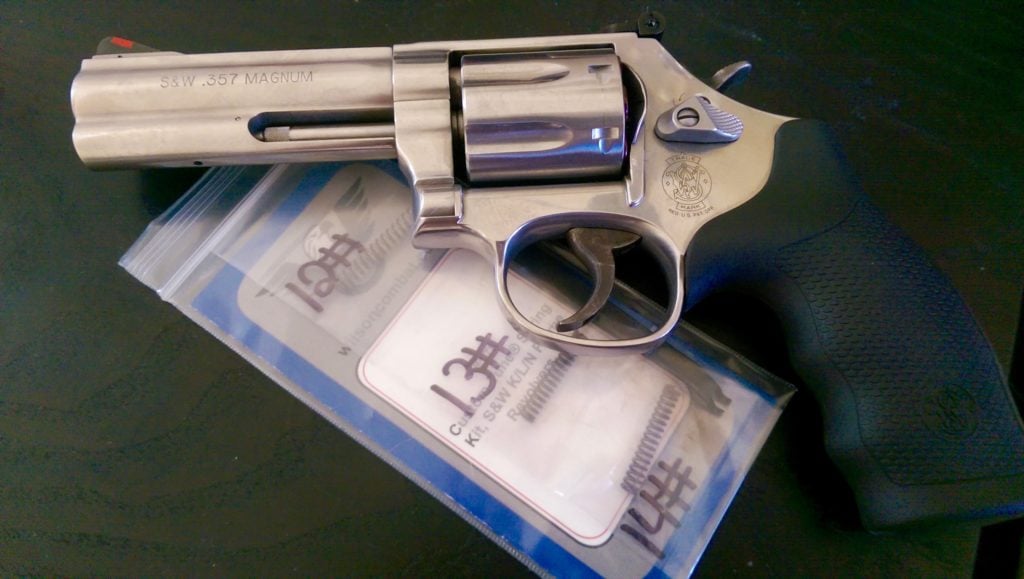
The reduced spring kit comes with 3 different weights for the rebound spring (what dictates how hard back the trigger is returned after firing) and a reduced weight mainspring that affects the trigger the most.
I researched and went with the heaviest rebound spring (14#).
This video from Jerry Miculek goes over everything on how to install the two springs.
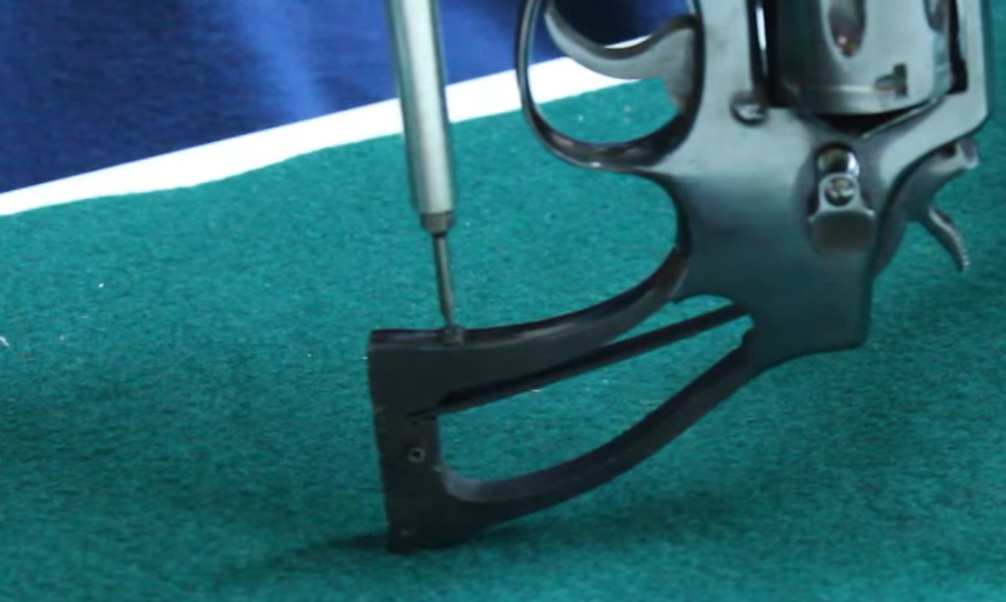
One bit of advice is to use the back of the screwdriver to knock out the side plate. There’s some other videos where they pry it off. Might work but it can also damage some stuff. Also keep the screws in the same order.
The hardest part will be taking off and re-installing the rebound spring.
There’s a dedicated tool ($20) for that but I followed Jerry’s tip of using a pen.
I’d also advise doing it in a cardboard box or having a cloth draped over just in case the spring goes flying out. Oh…and eye protection!
You can also adjust the mainspring by tightening a screw…I went with it the max weight (screwed completely down) to avoid light primer strikes. Couple hundred rounds of my plinking rounds and self-defense rounds and it has always gone bang.
3. Springs + Polishing
This one is much more intense than just switching out springs. After reading this section you might want to hit up your local gunsmith instead…and I wouldn’t blame you!
I researched a ton and had some good experience prior with 1911‘s so I felt pretty comfortable.
Stuff You’ll Need
- Revolver
- Reduced Weight Springs: K/L/N frames ($15) or for the small J frame ($8)
- Quality Screwdrivers
- Arkansas Stone ($15)
- Honing Oil ($3)
You’ll see that I use the white Arkansas stone (bottom of the pic) since it’s what I had and since it’s the finest stone (compared to the red India stone), so it doesn’t take as much material off.
I took a little something from multiple source videos.
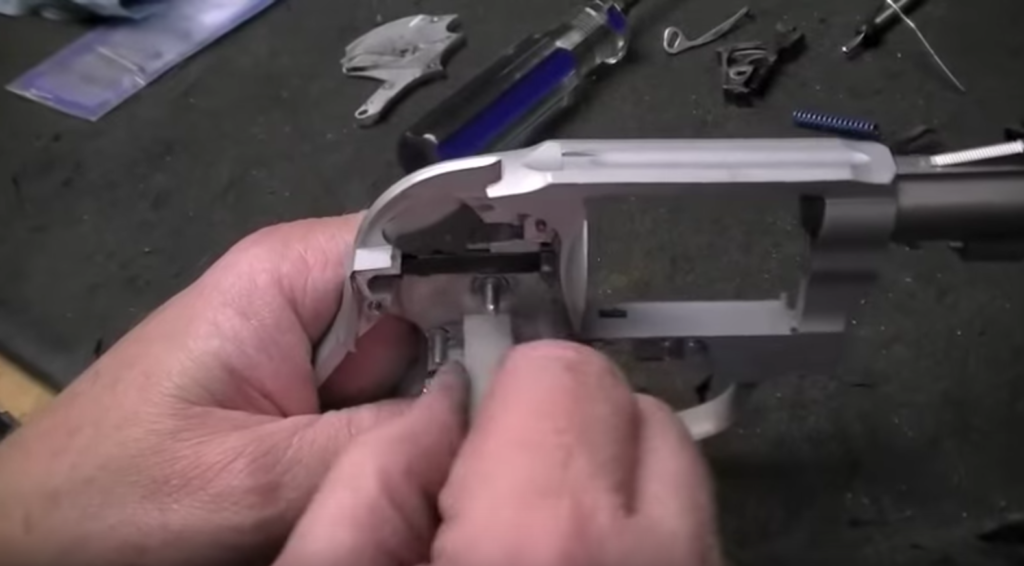
This quick video gives a closeup of the surfaces you’ll be polishing. They use an expensive stoning fixture ($160) that you can get if you think you’ll be doing multiple guns.
Note that you will not be touching the Single Action surfaces below…they are hundredths of an inch only.
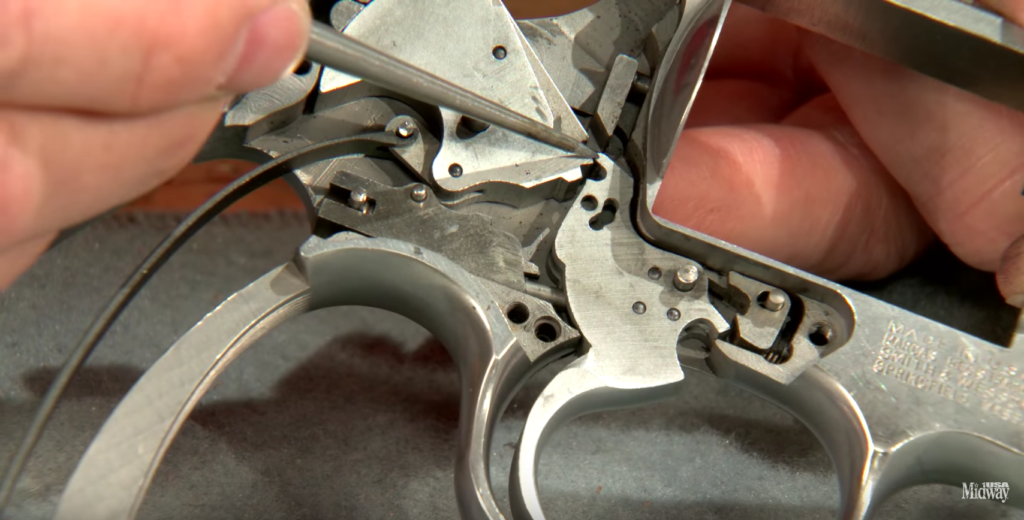
However, you’ll be polishing the Double Action surfaces.
Now that you have some idea of what’s going on…I used this video (sorry cannot embed) to see how to use the Arkansas stone and also where to polish in the frame.
I love Nutnfancy but the angles and narration could have used some work. However, I’d still watch it in its entirety to see how the gunsmith does everything.
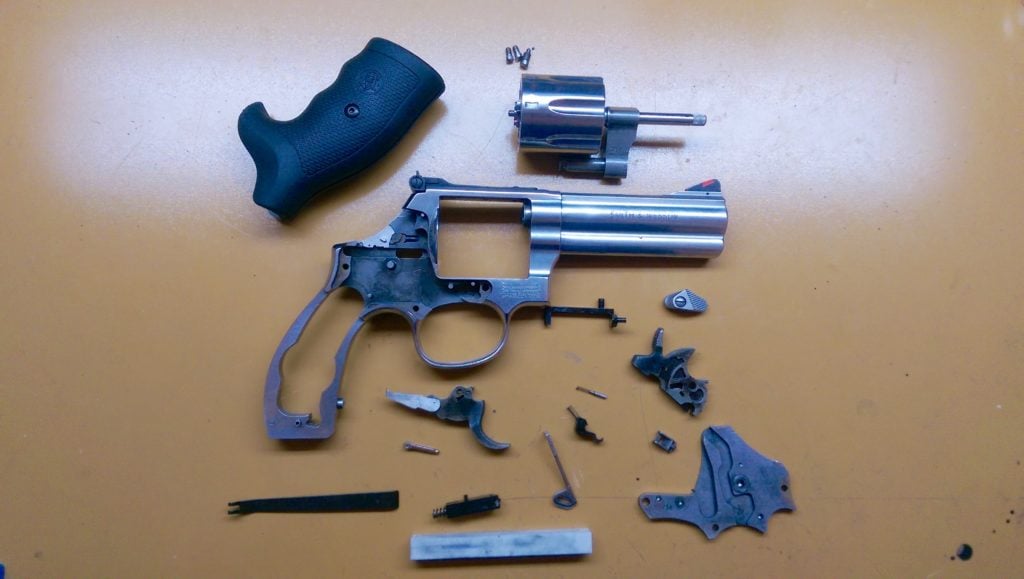
The main two videos I followed were by MannyCA who walks through all the polishing of individual parts. However, I only used the Arkansas stone instead of the India stones.
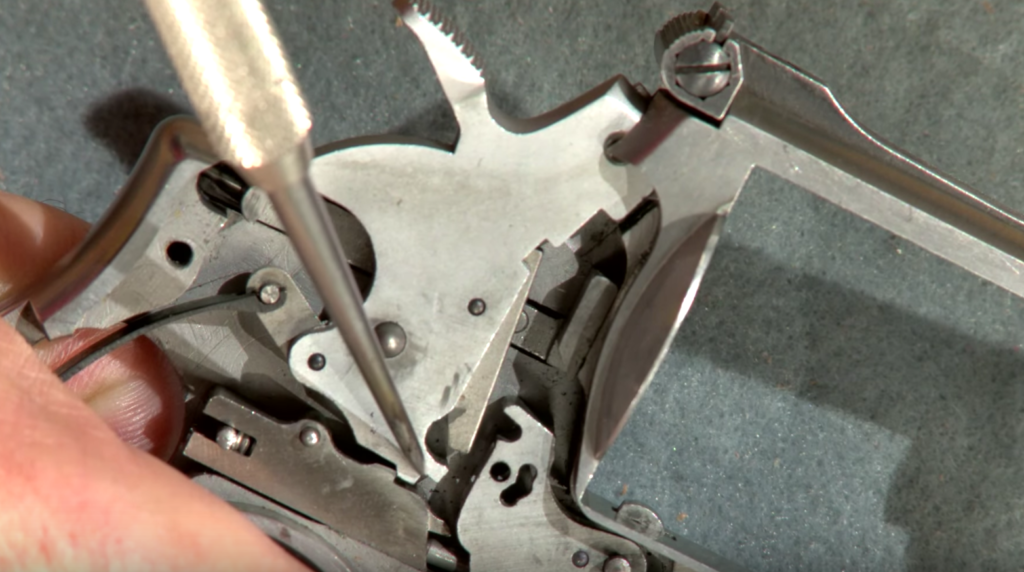
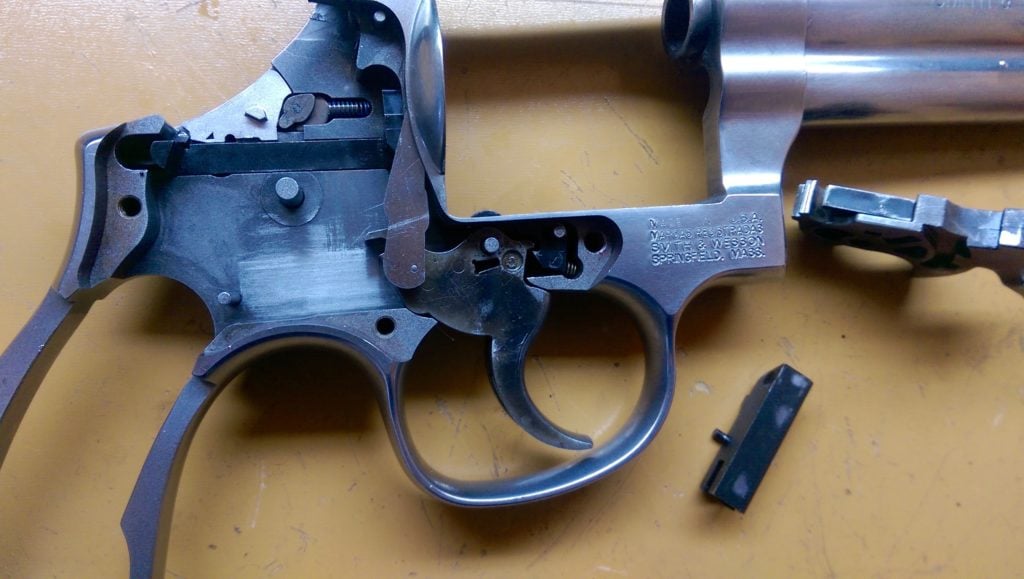
Here’s what my parts looked like after polishing. Note the smoothed out surfaces of the frame as well as the parts.
Conclusion
I lowered by DA (double-action) pull from 12lb to 9lb and my SA (single-action) pull from 5 lb to 3lb. This was with the 14 lb rebound spring and the reduced mainspring at max.
With the polishing I managed to get rid of the gritty feeling towards the end of my DA pull. The SA pull was already pretty perfect from before and since we didn’t touch any of those surfaces, only the weight was reduced with the spring changes.
So which method did you go with? How did it end up?
Learning Resources
Beginner’s Guide to GunsThe post S&W Revolver Trigger Job How-To (3 Methods) appeared first on Pew Pew Tactical.