It’s like adult legos they said…
It’s very rewarding they said…
It’s a great experience they said….
Well, they were right!

I recently finished my first ground-up AR-15 build and loved every minute of it, even the part where I was pretty sure that I had ruined my brand new lower, but we’ll get to that in a minute.
I’ve grown up around guns my whole life. My dad and grandpas would take us out shooting in the Southern Nevada desert on a regular basis. I even traveled around the country building gun ranges and shooting some awesome guns for over a year.
Even with all this experience, it was not until the last few years that I really started learning how to service my own guns and really got interested in building my own AR-15. If you want a concise break down of this process check out the amazing guide that sold me on the idea.
If you want to learn from my mistakes so you don’t have to make them read on…
The Parts
It seems that any good build article starts off with a parts list so here is my middle of the road plain jane parts list:
I know what your thinking, “If you’re going to build up your own AR why not get some fancier parts?” The reason is simple – if I’m going to put time into learning all the ins and outs of a gun, I saw this as a way to give myself a good ‘control’ platform.
The idea with a control platform is that I would know exactly how to upgrade and test out different barrels, triggers, etc. The advantage to this is not only practical knowledge but also to help me determine what effects if any, different upgrades would have on my shooting.
My philosophy is build it simple, shoot it often, and eventually upgrade it one part at a time.
Getting Started
The first thing you have to do is research, research, research. Consider what this build will be for you. Do you want it tuned up for long range, home defense, competition, or in my case a really good education and excuse to buy more parts.

Once you have figured out exactly what type of build you want you’ll have to consider where to do the build. My dad would always say that a clean tool is a happy tool and the same goes for workspaces. You’ll want to find a nice clean table with plenty of room.
If you’re wanting to do everything at home here is an awesome guide on what tools you’ll need. Another option and the one I used is to call around to your local gun shops and see if any of them have a build area/tools you can rent.
The great thing about building at the gun shop is that you will already be there when you lose one of the springs from your lower kit, and yes you will lose at least one of those dang springs!
One word of caution if you decide to build at the local shop – do not, I repeat, do not bug the person behind the counter with tons of questions. Just settle in and follow the awesome article that is right here and you’ll have no problems.

Wherever you decide to build your AR make sure you have a box or big bag to put all the packaging and wrapping from all your new shiny stuff into. This helps in two ways, first, it keeps your work area clutter free and makes it harder to lose little parts, second, it keeps your packaging nearby for reference or return.
If you’ve ever done a part-by-part build on a motorcycle or something similar you know that at least one of your parts is not going to fit right. For me, my gas tube was too short and I had to get a longer one. An AR-15 build is not complicated but it is a lot of parts to order and keep straight.
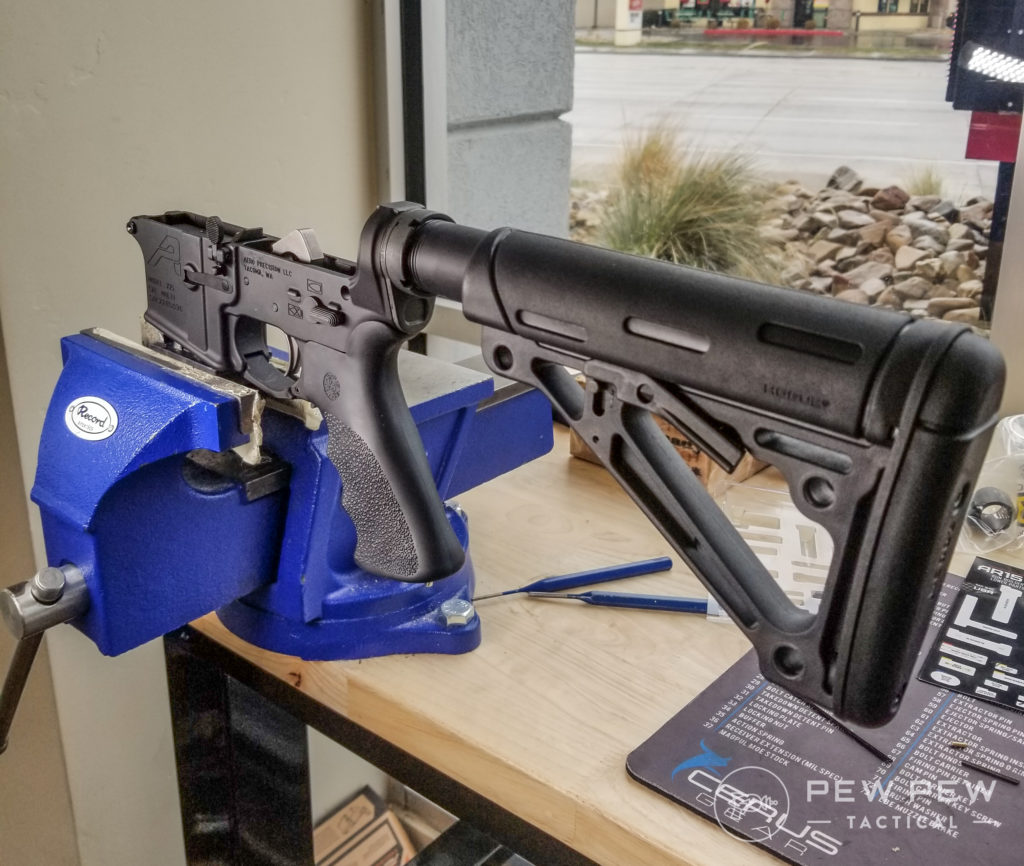
Now that you have your tools and a clean table you’re ready to dive in. The very first step I would suggest any first time builder is to put your lower parts kit face down on the table and carefully remove the back panel.
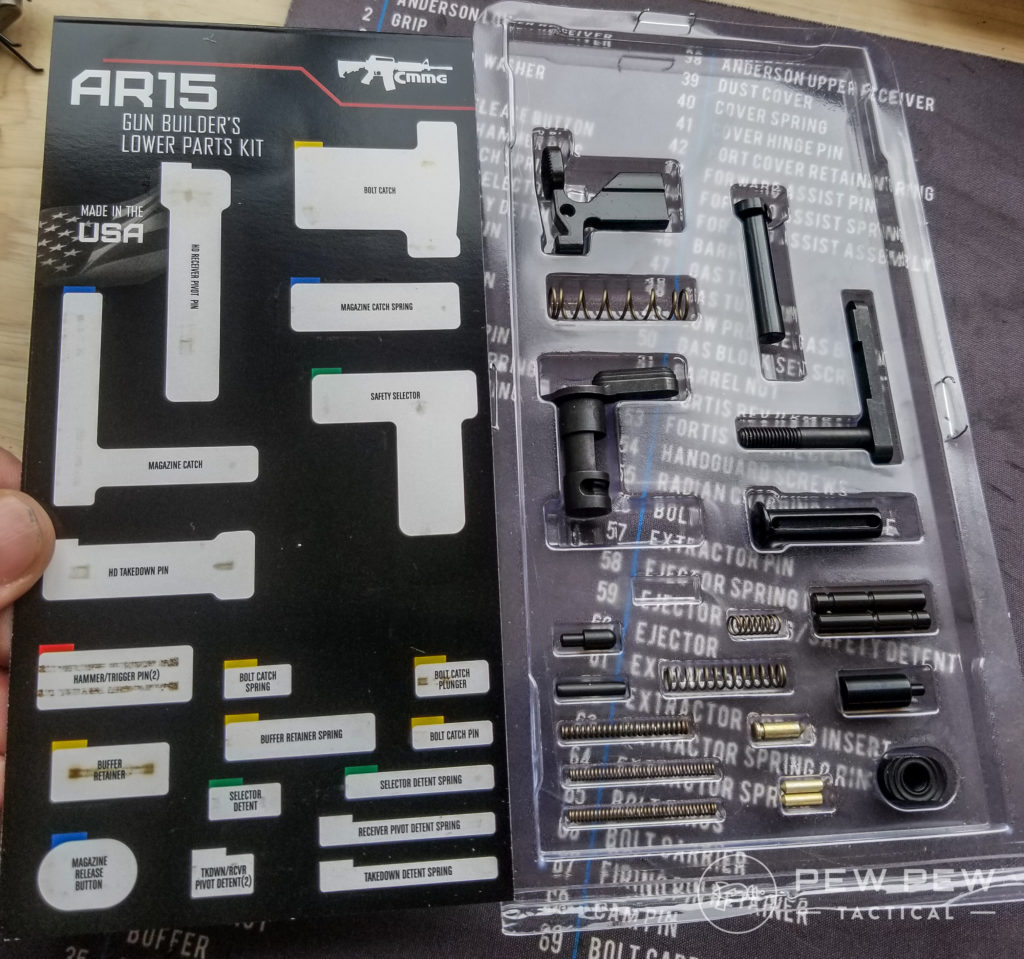
And just like that, you have a handy holder for all those little parts and a guide for what each thing is called as well as where it’s located. I’m convinced this one little trick cut my build time in half.
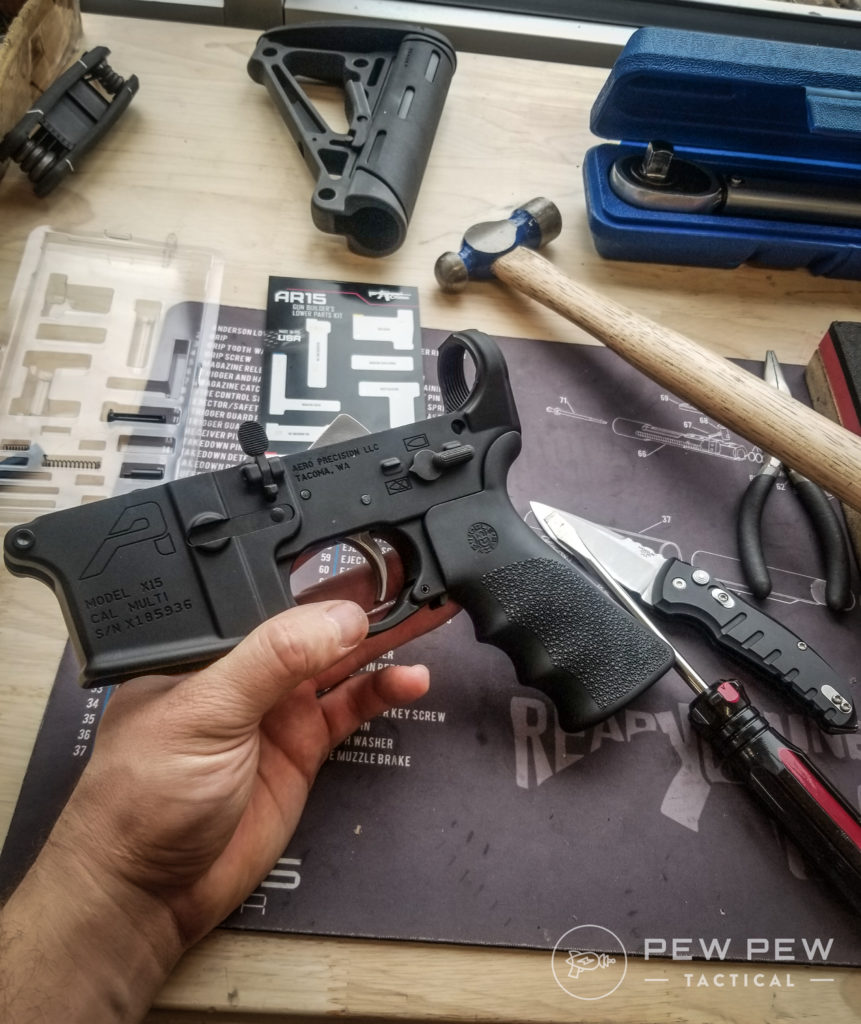
The Lower
With a little hesitation, I started with my lower. I joked earlier about the whole AR-15 and Lego’s thing but it really is true. I blew through the lower pretty quickly with everything snapping into place. I noticed I had to pay special attention to how the trigger springs needed to be oriented and to not get too cocky.
For a quick and easy method of building your lower, take a look at the Ultimate Visual Guide!
The Upper
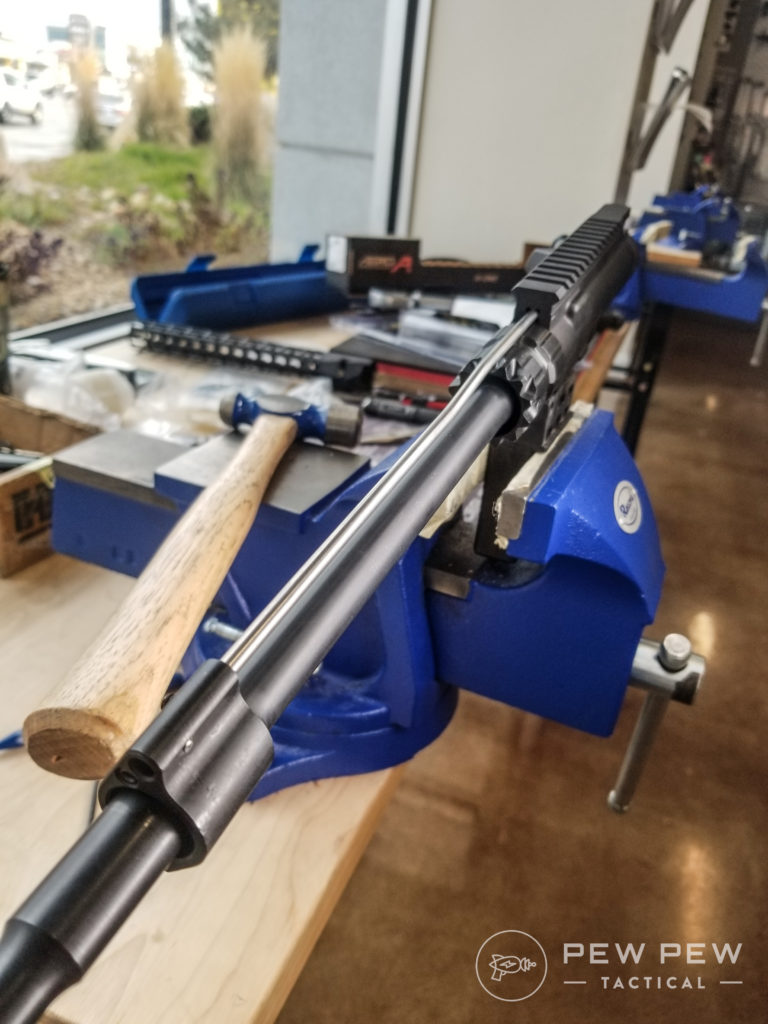
With my lower together and looking almost like a gun, I was ready to dive into the upper. My upper receiver already had an ejection port cover and forward assist installed so I started right at getting the barrel and barrel nut installed. Getting the timing right on my barrel nut was probably my biggest concern.

Timing is basically just making sure that your barrel nut is lined up correctly with the gas tube hole on your upper receiver. The rifle gods must have been smiling on me while I was putting this together because I was able to get the barrel nut on the first try.
You have to use a torque wrench for this part of the build. When using a torque wrench always take your time, and never use your torque wrench to loosen something that is already tight.
Once the barrel nut was on I slipped the gas block and tube onto the barrel only to realize my gas tube was too short. Since I was building at the gun shop all I had to do was walk 15 feet and buy the right length. With the gas block and tube on I mounted the rail and went to putting the BCG and charging handle in.
For some reason, it was like putting a square peg into a round hole at first. After some fidgeting, the two parts just slipped into place. Because I was doing this build to learn and not just get lucky I removed the two parts and put them in again a couple of times to make sure that everything did indeed fit correctly.
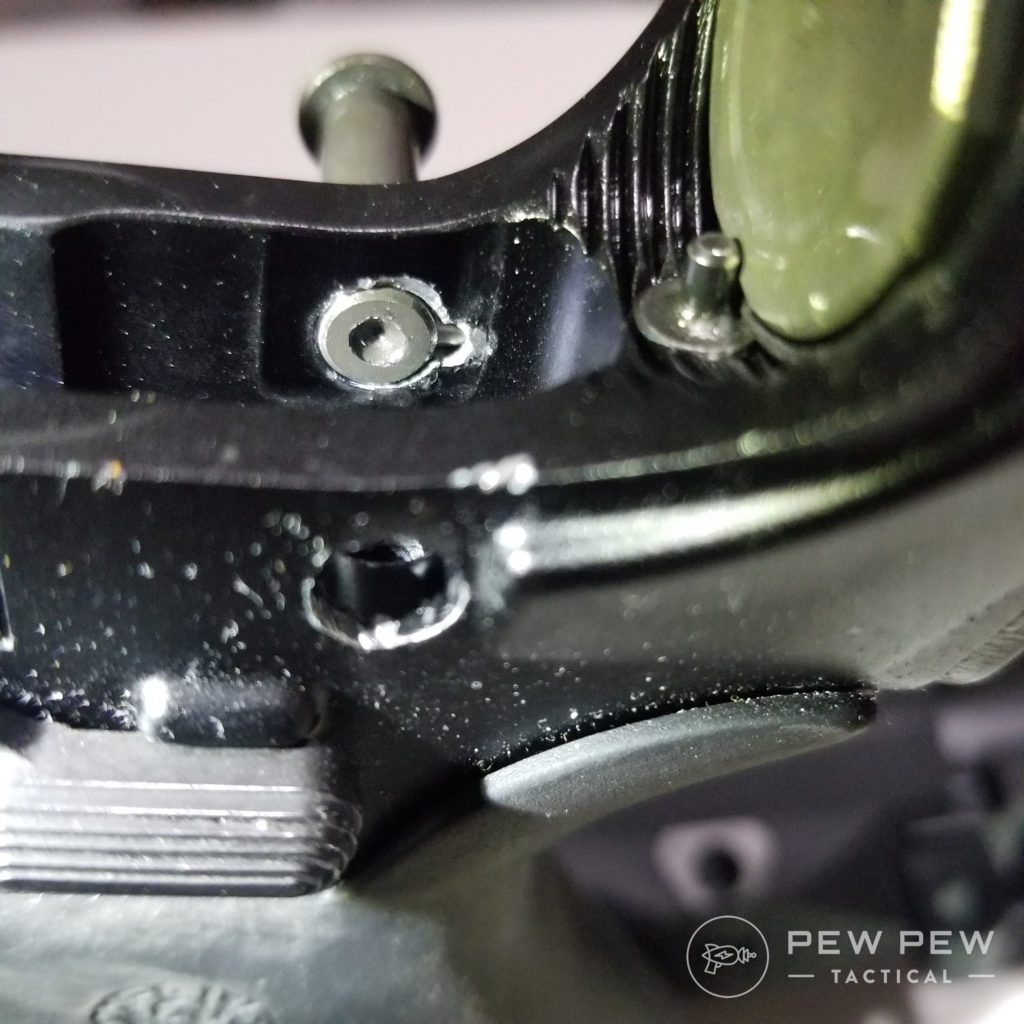
With the lower and upper assembled it was time to make them one! I slid the upper into the front takedown pin and locked it down. Shivers ran down my spine. I then folded the upper into the rear of the lower to lock it in and… the rear takedown pin was not in place.
Remember when I said I got cocky with the lower build? Well here’s the thing. Assembly of the lower was so smooth that I started throwing parts together without reading through the awesome instruction I had. This resulted in me installing the buffer tube before I installed the detent for the rear takedown pin.
I didn’t notice this until the upper was complete and I went to connect it to my lower. It’s at this point in the build that I should have stopped and retraced my steps. But I’m a man, a mechanic, a carpenter, I knew I could just make it work, and since the whole build went so smooth I guess I just needed to complicate it.
So instead of taking a second to read over where I went wrong, I proceeded to try and install the spring and detent through the takedown pin hole on the side of the lower. The good news is that you can do this.

The bad news is that you will chip your lower like an idiot. Luckily the internet contains the breadth and depth of human knowledge so, after some swearing and crying, I found a really awesome workaround from here.
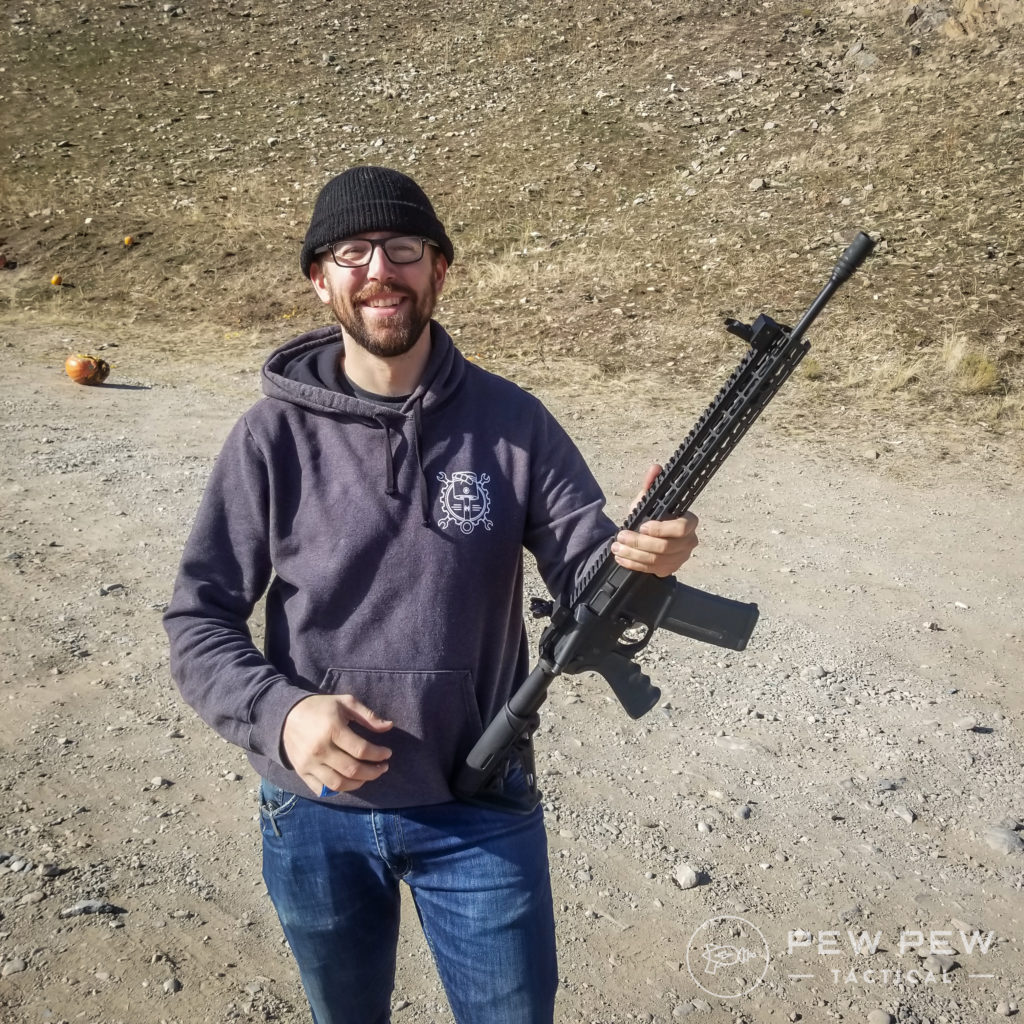
With my new custom detent pin for my rear takedown pin, I locked my upper into my lower and took my new AR to a local outdoor range to tune it up and sight it in. I have shot a lot of really unique guns, but the excitement of shooting a gun I had built from the ground up was electrifying.
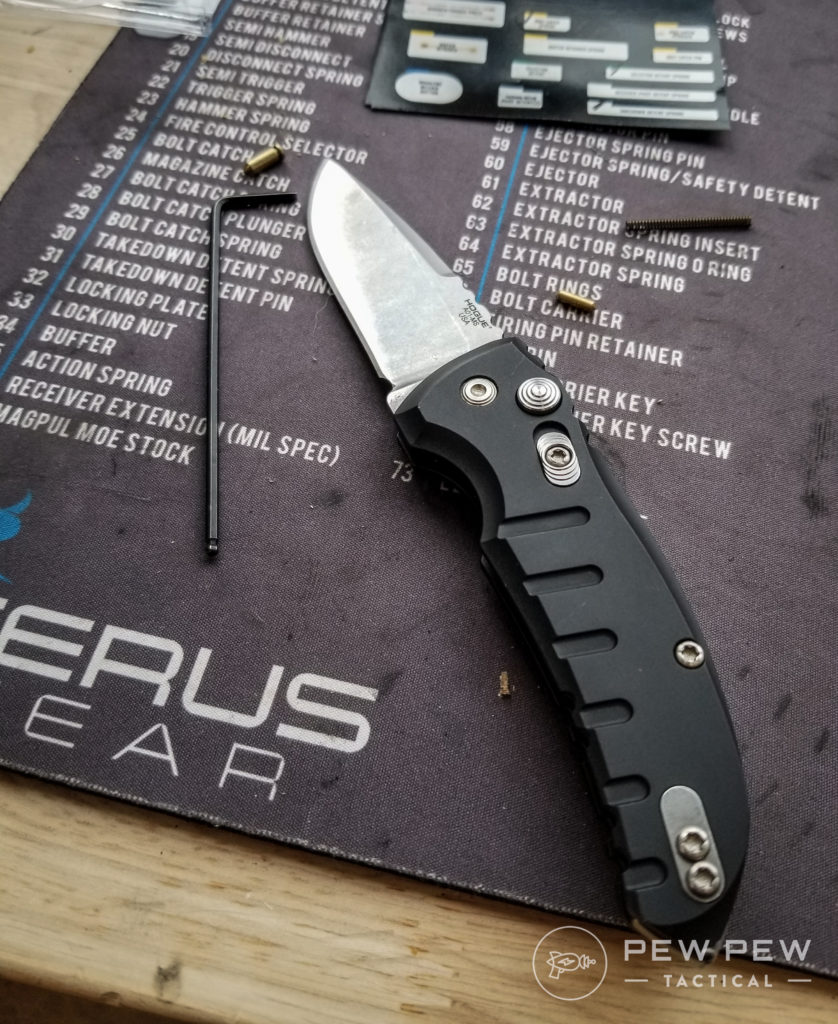
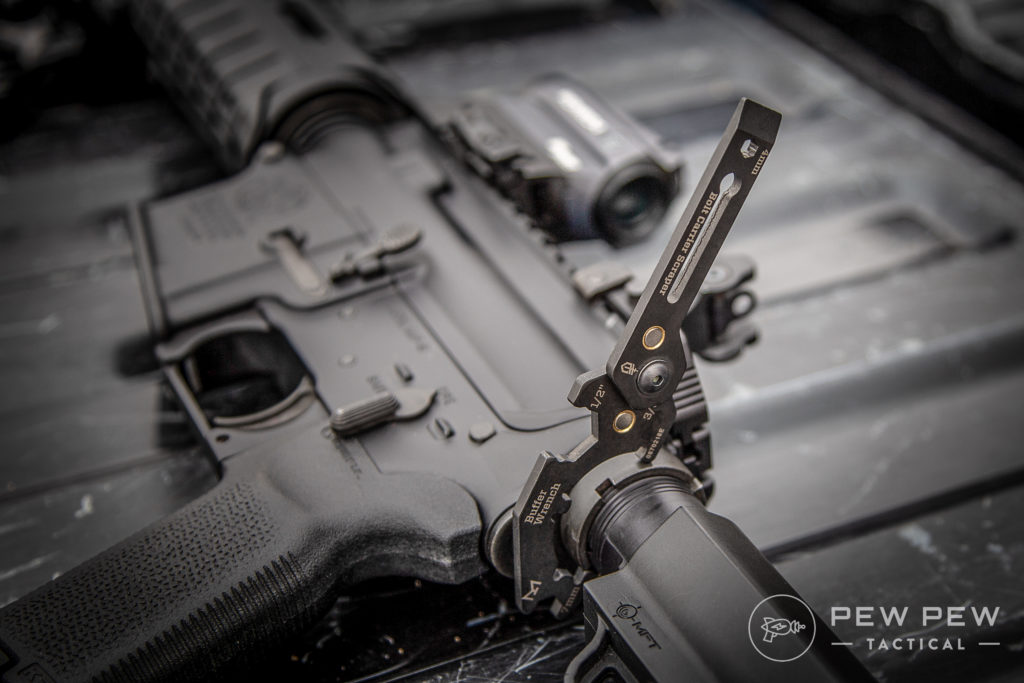
I took along the Gerber AR Short Stack to help with all of my field adjustments.
Shoot It!
Once I happily and successfully ran a few rounds through the gun I used a 10-yard target to sight in for 50/200 yard zero. I learned this trick from a range master in Florida and with a little Google magic, I found a video of someone explaining it!
From the initial build, there were a few basic expenses I had not considered until I was done and realized the gun was not quite ‘finished.’ I now needed at least two magazines, iron sights (optics will come later), a sling, and a case.
I wouldn’t call these surprise expenses but let’s just say the Misses had some questions when the overall tab ended up being higher then I had originally calculated. Keep in mind that no matter if it’s replacement parts or the little add on’s at the end, your build will probably cost a few more bucks than you originally anticipated.
Parting Shots
All in all my build went really smooth and was the exact education I was looking for to better understand my equipment. I started with a cheap trigger and in a short time have already upgraded it. I had total confidence in breaking the gun apart and servicing it. In fact, it took me a whole of 3 minutes to change out the trigger.
If you’re looking to build your own AR do some homework and then dive in. Between all the awesome articles here and the very helpful gun building community you are bound to get yourself something awesome built in no time.
How did your first build go? Did it end in disaster or just a near miss? Let us know in the comments! Ready to upgrade your rifle? Take a look at our Editor’s Picks for lots of great gear!
The post AR-15 Learner Build: One Man’s Journey from Parts to Finished Rifle appeared first on Pew Pew Tactical.