Do you want to be a better defensive shooter?
Of course, you do! So…can you attend a defensive firearms course across the country…basically once a month?
If you can, great! But if you can’t…welcome to the club.
So what do you do in between classes? Drills!

Defensive firearm drills are a great way to work on new skills and keep the ones you have sharp.
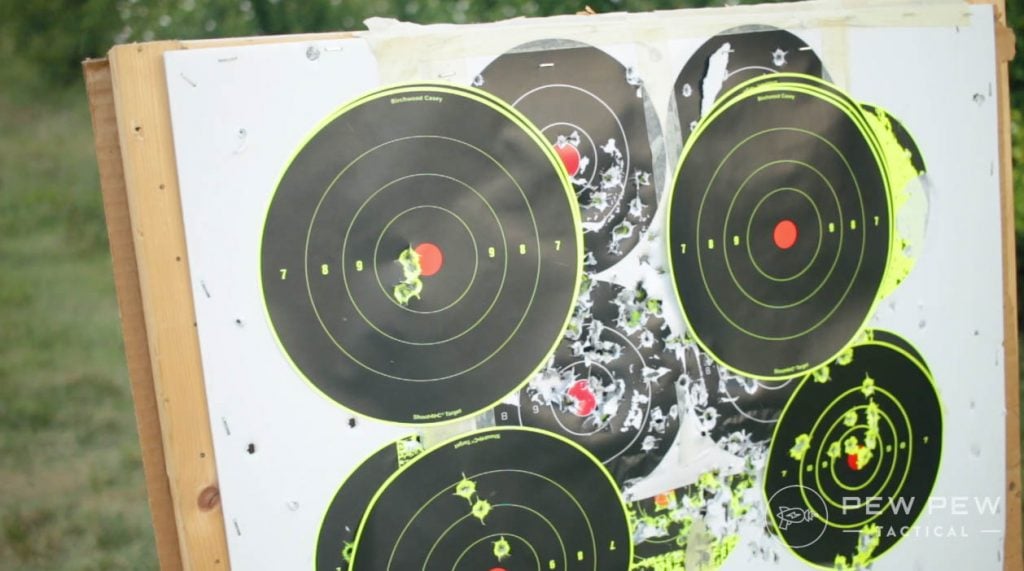
We’ve put together a few defensive firearms drills to keep your skills sharp & build a solid base in defensive firearms use. All from the comfort of your local range.
Table of Contents
Loading...
Why These Drills?
There are lots of great drills out there to improve your shooting ability. The ones I’ve chosen here were done for a purpose.
First, they are great drills to master.
Second, they can be done with minimal supplies.
Third, they can most likely be done or modified to be done in accordance with your range’s rules.
Malfunction Clearing
This drill is all about learning to get your gun back into the fight when it goes down with a malfunction. This specific drill is designed to teach shooters how to defeat a malfunction.
All standard PPE is required.

Start the drill in the ready position, as if you had just fired and are going to fire again.
If you are using a timer, wait for it to sound off. When it sounds, the drill begins.
If you aren’t using a timer for this drill, just start when ready.
Pistol
Use an empty brass case or a Snap Cap to simulate a complication.
With a pistol, remove the magazine — retain it or drop it (if you’re carrying a spare mag).
Pull the action to the rear several times as you tilt the weapon ejection port down. Once the malfunction is cleared, reload the weapon and fire.

Firing a shot on target completes the drill.

Want to see it in action? Check out the Brownells’ Daily Defense video below.
Rifle
Each rifle functions slightly differently, but this drill assumes you are using a modern rifle. If not, adapt the drill the best you can.
Starting in the firing position, drop the magazine with the firing hand as the nonfiring hand locks the bolt to the rear.

With the bolt to the rear, the jam should clear; if it does not, clear the brass with your hand.
Reinsert the magazine and fire a single shot, and the drill is over.

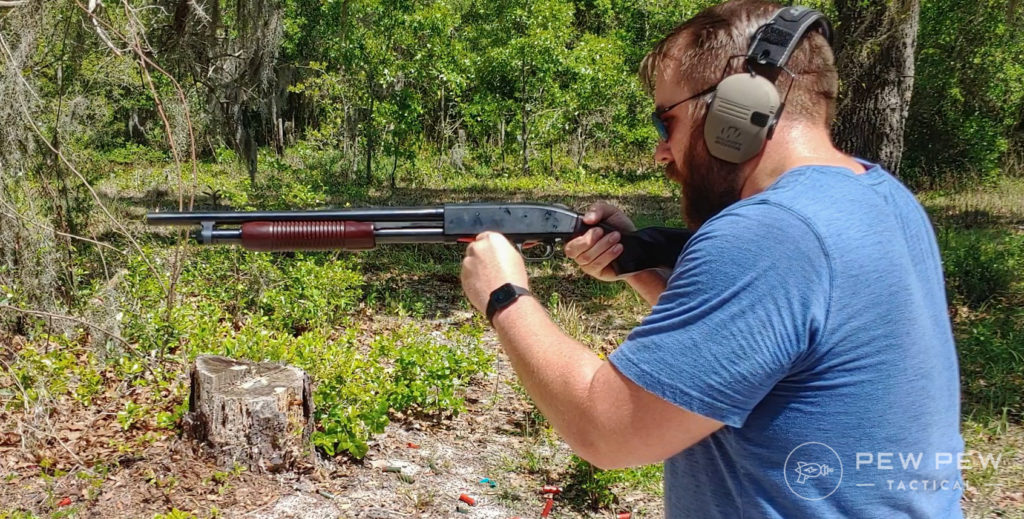
Shotgun
This drill is for shotguns with tubular magazines — revert to the rifle drill for box mags.
With a pump shotgun pull the pump fully to the rear. If necessary, reach in and remove the malfunction.
With an automatic, lock the bolt back to the rear and clear the malfunction with your hands.

Put another round in the chamber and fire a round.

Make It Harder — Randomly load an empty case into the magazine and let the malfunction surprise you.
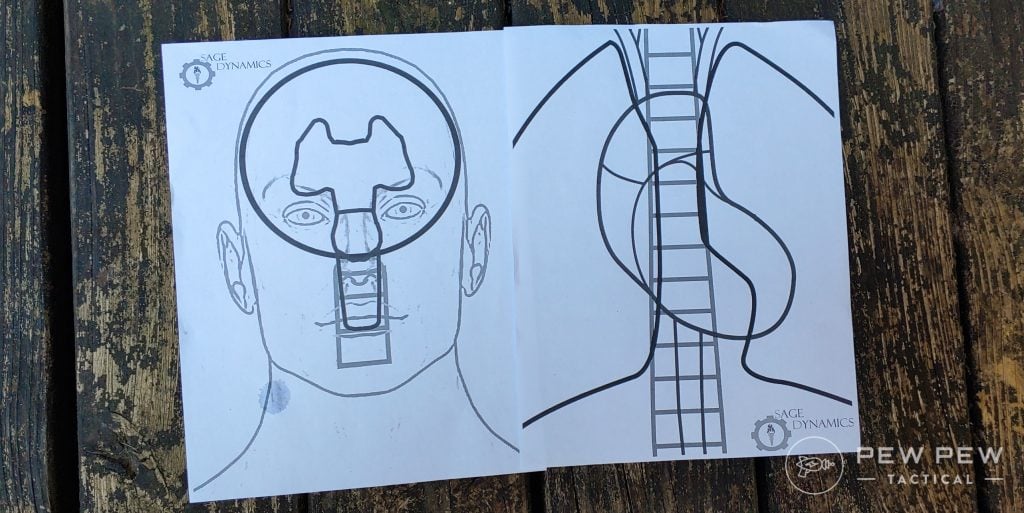
Failure to Stop a.k.a Mozambique
This drill involves two shots to the chest and one to the head, and it’s the same drill as any weapon platform.
The Failure to Stop Drill, or Mozambique, is mostly useful with a rifle or pistol.
A failure to stop drill with a shotgun tends to be unnecessary, but can be done.
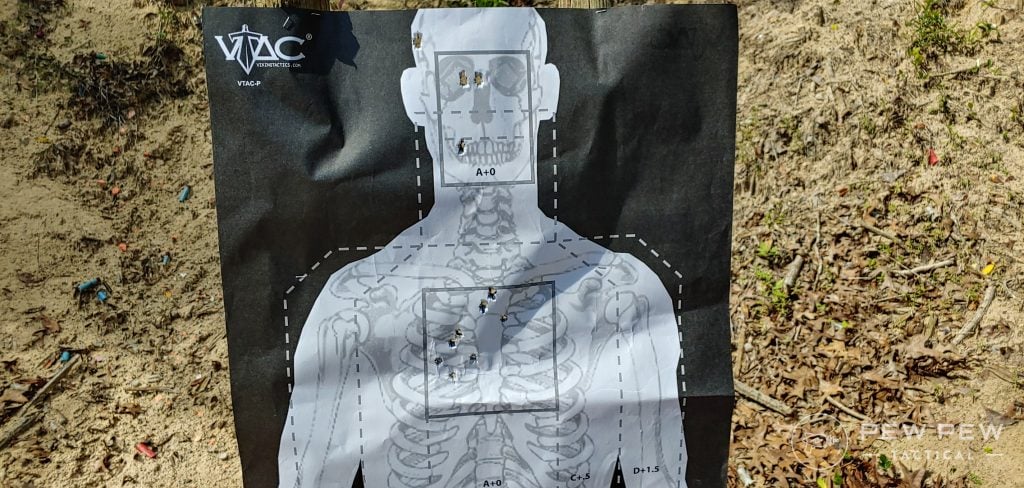
Using a silhouette target with distinguished chest and head areas, set your target up anywhere from 7 to 10 yards with a handgun and 15 to 25 yards with a rifle or shotgun.
If range rules allow, start with the handgun holstered or long gun at the low ready.
On the go signal, fire two rounds into the chest of the target and one round to the head.
Then keep the weapon aimed at the target to ensure it’s down.
This drill stresses shot placement into critical areas of an opponent and also teaches shot transition drills on the same target.
Shot placement is the most important factor in ending a defensive encounter, more so than any kind of supposed knockdown power.
Make it Harder – Place a 3×5 index card on the chest of the target, and a playing card on the head of the target. Shots will only count if they hit the index or playing card. This challenges the shooter’s shot placement skills even more.
Read more about the Mozambique and its origins in our article here!
Box Drill
The Box Drill is almost identical to the FSD drill; however, it’s shot on two targets.
Like the FSD, you can use any weapon’s platform to complete this drill…as long as it can hold six rounds.
I place the targets about a yard apart because it’s faster to engage with your dominant hand.
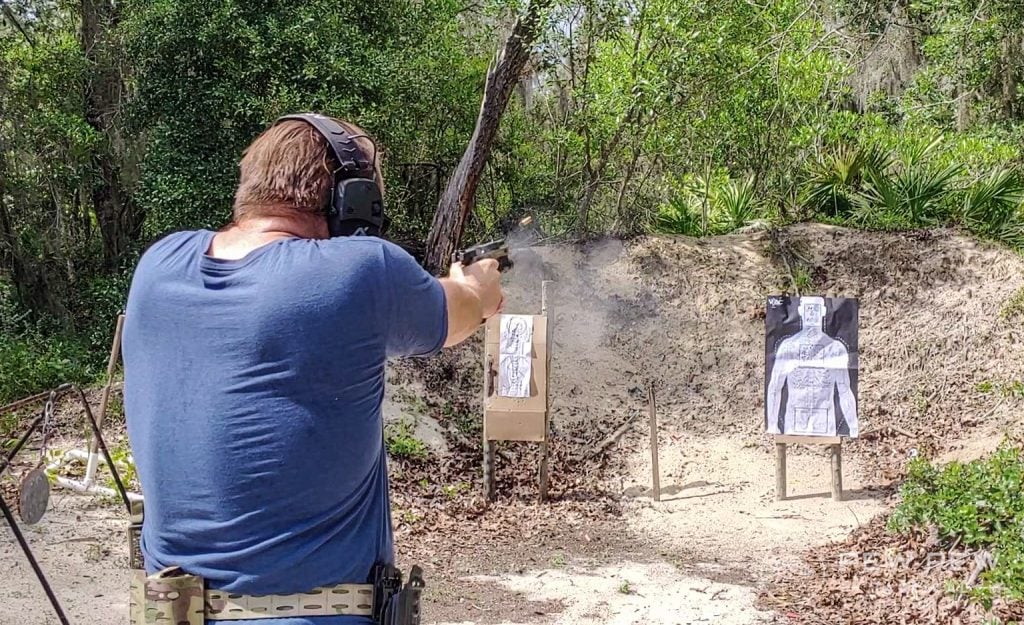
Engage the first target with two to the chest, transition to the second target, and fire two to the chest.
On the second target, take your headshot, then transition and finish the drill with a final headshot on the first target.
This drill stresses shot placement and multiple target engagement.
It forces you to think under stress and focus on kicking ass in a proactive way.
Make it Harder – You can make it a little harder by placing the targets further apart if possible. If not, mix in a reload in between shots. Make it interesting by loading three rounds per magazine and reloading right in the middle of the drill.
El Presidente
The El Presidente was designed by the King of Combat handgun shooting, Jeff Cooper. This drill challenges a pistol shooter’s ability to draw, engage, transition targets, reload, and then re-engage multiple targets again.

The drill should be completed in 10 seconds — five if you’re an advanced shooter.
You’ll need three man-sized targets set 1 meter apart, with the targets staged 10 meters from you.
Start with a holstered handgun and a spare mag carried as you please — six rounds in each mag.
You’ll need a timer to really gauge your ability, but if running it just for fun, don’t worry about it.
Begin with your back to the targets, and hands in the air, in the false surrender position.
On the go signal, turn, draw and shoot each target twice. Then reload, and shoot each target two more times.
The drill is quite challenging and does have a lot of moving parts. As such, it might be tough to find a range that will accommodate it.
We offer an in-depth dive into El Presidente here.
1 to 5 Drill
Designed by Kyle Lamb, the 1 to 5 Drill is perfect for any modern defensive rifle.
Kyle Lamb was a Sergeant Major in the U.S. Army, and Delta Force Operator and participated in numerous deployments, including the Black Hawk Down incident. He’s the lead instructor at Viking Tactics and the subject of a serious man-crush on my part.
Lamb designed the drill to stress shooting until the target is down. Instead of focusing on the double-tap and transition, you’ll place a multitude of rounds on multiple targets.
You’ll need three man-size silhouettes set about a yard apart. The targets are only 5 yards from you.
Load one magazine with 15 rounds, insert it and make ready with your rifle.
Start in the low-ready position with your rifle. On the signal, put one shot on the left-most target, two shots into the center target, and three shots into the rightmost target.
Next, you shoot four shots on the center target and finish with five shots on the left target.
You should be able to do this in about five seconds. Anything less means you are doing pretty dang good.
Shoot Two – Load Two
Even in the most kitted-up combat shotguns, you are likely only getting nine rounds or less. So, it’s essential for any shotgunner to know how to reload their weapon.
The S&L drill helps shooters master how to load a shotgun in the middle of using it.
A shotgun’s tubular magazine is an advantage since you can constantly load the gun as you shoot. Being a speedy reloader is the key to mastery.
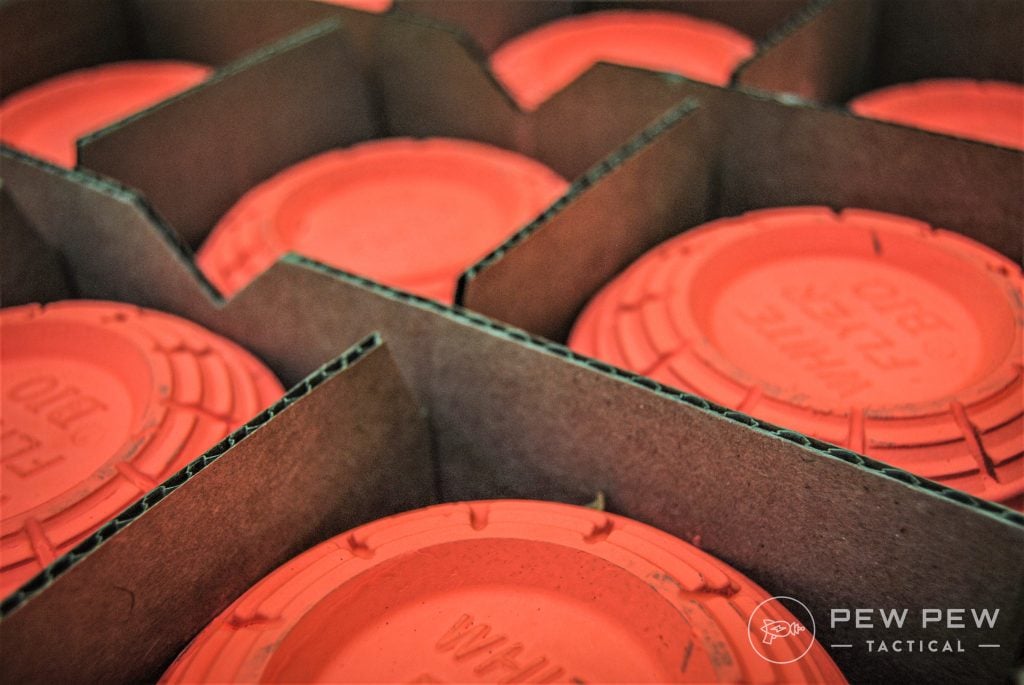
Place any target downrange, and start 10 yards from it. I prefer to use clay pigeons set on the berm for shotgun training. Shotguns rip targets apart, so paper targets are kind of not needed. Clay pigeons explode and are fun to shoot.
You’ll need at least five shotgun rounds — Three in the tube and two secured outside of the shotgun to load the gun.
Shoot two rounds, reload two shells.
You want to reload with your non-dominant hand and keep the shotgun pointed at the targets.
The key to this drill is repetition. The faster you get, the better.
A way to measure your progress is by keeping time. Shoot two, reload two and observe your time.
Accessories to Maximize Training
I’ve mentioned a few accessories above, and I want to go ahead and double down on just how handy they are.
These tools will make it a lot easier to train and ensure you get the most out of your training.
Shot Timer
A shot timer is an invaluable tool to track your skills and ability to shoot.
Sure a target makes it possible to see how accurate you are, but a shot timer shows how fast you are. You can record the data and track your progress.
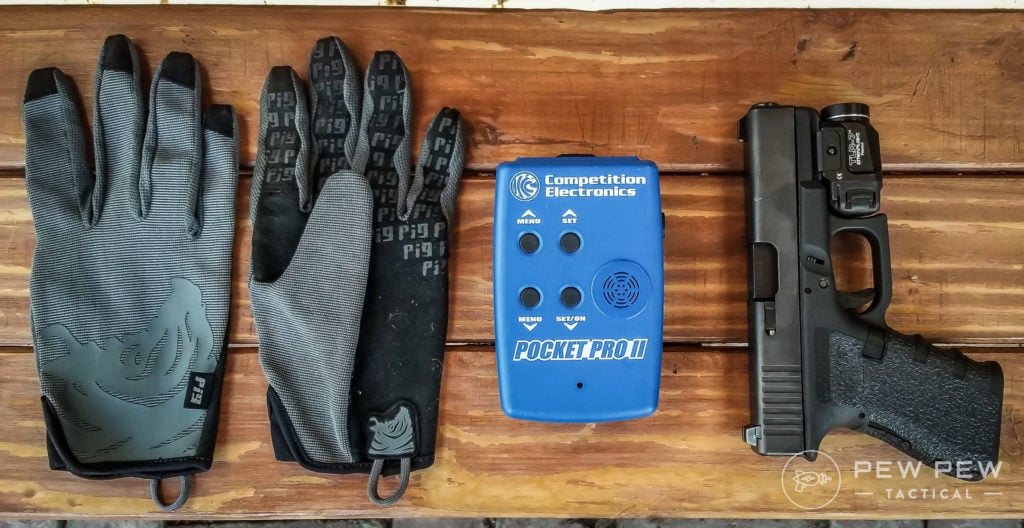
A shot timer also adds stress to your shooting, making you work to overcome that stress.
If you can’t afford a shot timer, there are a number of apps that function decent enough. They aren’t perfect, but they’re better than nothing.
See our round-up of the Best Shot Timers!
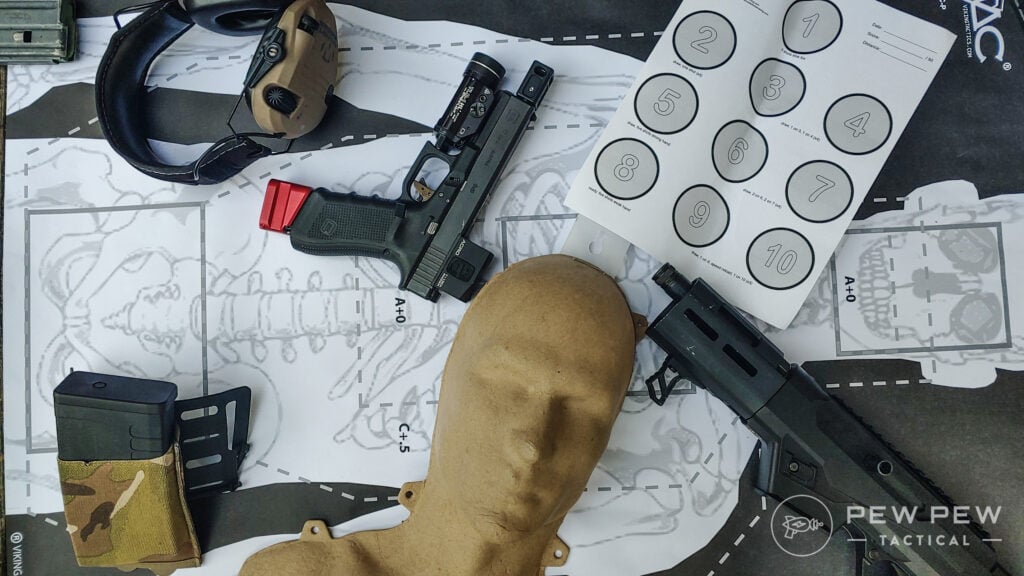
Good Targets
While just about any target can work, I prefer targets that resemble an actual opponent. This makes it easy to determine how I’d deal with an actual defensive situation.
For a round-up of our faves, see the Best Targets & Stands.
Snap Caps
Snap Caps are invaluable training aids in general — be it dry fire, basic firearm safety, or inducing malfunctions. These rounds are quite distinct from actual rounds but are built perfectly to the spec of a real cartridge. Snap Caps are cheap, easy to find, and are made for nearly any caliber imaginable.
Our faves are below:
But we also have an entire article dedicated to the Best Snap Caps for you to look at.
Final Thoughts
When it comes to training, remember that success is not measured overnight. You tend to get better in increments. Be patient and keep training.
For more on basic drills to do at the range, check out the Brownells’ Daily Defense videos below.
Or, for some basic rifle mounting exercises, check out this other video from Brownells.
Or check out the TC Drill below.
Got drills of your own…or any of your favorites we’ve missed? Let us know in the comments below. And if you’re looking to save some money on ammo, check out the Best Low-Round Count Drills and our guide on Dryfire Training.
The post 6 Best Shooting Drills: Pistol, Rifle, Shotgun appeared first on Pew Pew Tactical.